Page navigation
**By default, when you create a new Page, you will have a one-page site. You can add a navigation bar to your Page, allowing you to organize content sections into different tabs.
Add navigation to Page
- From your Edit Page screen, click on
 Add Navigation located below your Page headers.

By default, you will have one tab called “News” available in the Navigation Management lightbox. As a one-page site, all new content sections are added to this tab, but no navigation bar is displayed.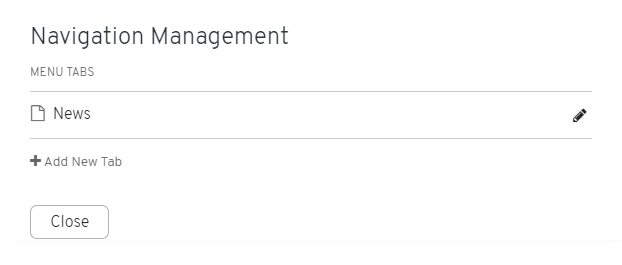
- Click Add New Tab to create a new navigation element.
- Enter a label to display on that tab.
- Click Add to close the dialog box.
- You can continue to add more tabs, or choose to edit labels, reorder or remove the existing tabs.
- When you’re ready, click Save to close the Navigation Management lightbox.
A navigation bar now appears below the Page header. Clicking on a tab will navigate you to that page to add or edit content sections.
Edit tabs on navigation bar
- From your Edit Page screen, click on
 on the right side of the navigation bar.
 - From the Navigation Management lightbox, you have two options for modifying existing tabs.
- Click and drag a tab you want to move.
- Release the tab when it’s in the desired position.
- Click the located on the far right.
- Enter a new tab label.
- Click Add to close the dialog box.
- When you’re ready, click Save to close the Navigation Management lightbox. You’ll see the change appear in your navigation menu.
Remove tab on navigation bar
- From your Edit Page screen, click on on the right side of the navigation bar.

- Click the
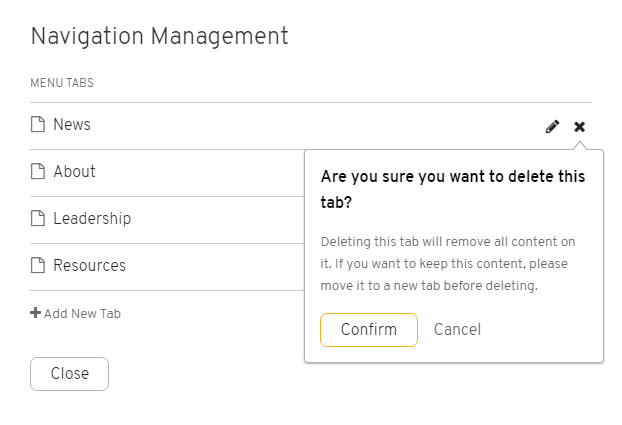
 located to the far right of the tab that you would like to remove.
 - If there is content placed on the tab, then a confirmation dialog box will appear. Select the Confirm button to permanently remove the tab and all content that was placed on the tab.
NOTE: Deleting a tab from the navigation will remove all content sections that are on it. If you want to keep this content, please move it to a new tab before editing the navigation.